Mecha Borg: Operation Backwater
A deep-space assault on a fortified asteroid installation.
Premise
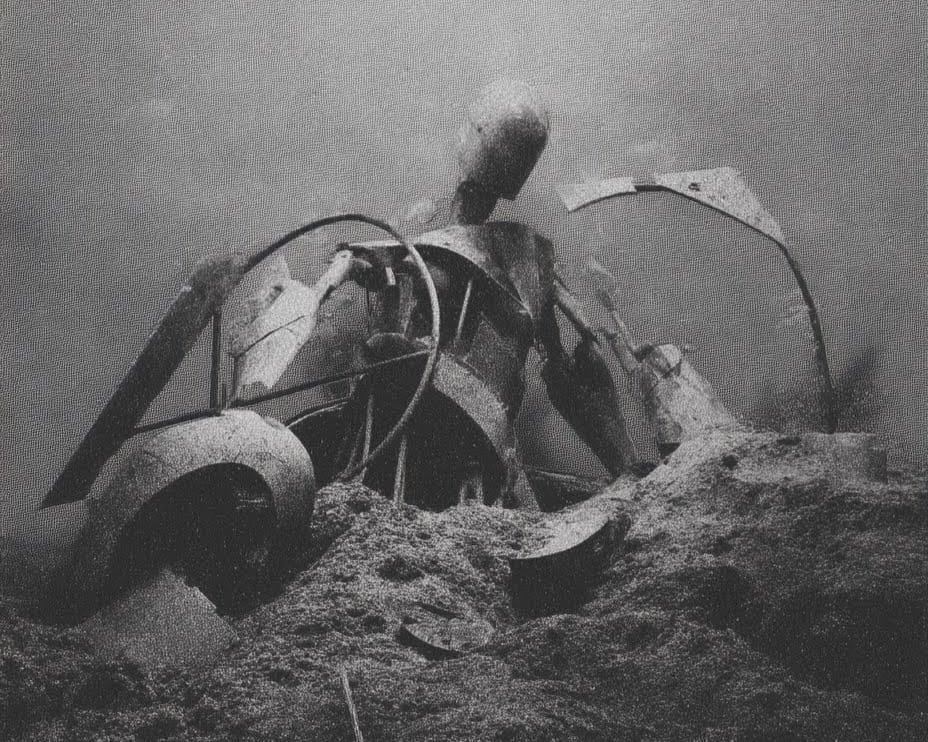
In the cold between planets, where sunlight is thin and radio lag makes command meaningless, a splinter faction maintains an automated weapons platform carved into a hollowed-out asteroid. The war has moved on without them. Their orders expired two years ago. They still fire.
Your squad receives one last directive:
BREACH THE ASTEROID. DISABLE THE COMMAND CORE. SURVIVE IF POSSIBLE.
You launch from a carrier that may not survive the battle. Above you, beyond visual range, a friendly fleet prepares kinetic penetrators for a saturation bombardment. They will not risk a comm blackout or a change of heart from the installation.
At OCC 20, the fleet fires. The asteroid—and everyone near it—dies.
You have eight rounds to fight your way in, breach the outer hull, and destroy the Command Core.
Engagement Zones
1. The Outer Band (Deployment Zone)
A cloud of navigation markers, forgotten sensor drones, and frozen fuel droplets.
- Entering combat here is optional—the danger is the clock, not the enemies.
- Long-range exchanges only.
- At the end of Round 1, all PCs must push toward the Contested Sphere, or +1 OCC.
2. The Contested Sphere (Kill Zone)
A rotating halo of debris around the asteroid, caught in slow helixes by uneven gravity fields.
- Every round spent in the Sphere requires AGI DR 12 or take d2 collision damage. A successful dodge incurs a stress check (“Was that debris that missed me from a friendly unit?”).
- Enemies spawn here on a schedule (below).
- OCC advances aggressively due to radio interference, targeting locks, and sensor ghosts.
3. Asteroid Surface (Assault Zone)
Close enough to see the pockmarked hull, heat-vents, and obsolete weapons turrets.
- At the start of the round, every unit rolls 1d6. 1: a heat vent blows below the unit = STR DR 12 to avoid being blasted into the Contested Sphere. 2+: no effect.
- The Command Core has HP 6, Armor −d8, and a rotating shield:
- Odd rounds: ranged DR +2
- Even rounds: melee DR +2
- Destroying it ends the mission instantly (even if OCC is 19).
Player Squadron: The Lancers
Four-unit deep-space breaching team. No atmosphere capability. Limited propellant. No return vector if the carrier dies.
Your machines were never meant for heroics. They were meant to cut through debris, lock onto a hull, breach a door, and survive long enough to cripple a target that mattered more than you did. Out here, nothing matters more than the timing.
Vanguard (Breacher)
First in. Last out. If you're lucky.
HP: 5 | Armor: −d4 | AGI +1 | PRE +1 | STR +2 | TOU +2
Weapons: Coilgun (d8); Breaching Charge (d10, single use)
Special: First into the Assault Zone: +2 to hit the Command Core on your first attack.
Tactical Role: Punch through. Stay alive long enough to plant your charge. You’re the only one with a bonus to hit the Core. If you die early, the mission timeline collapses.
Notes: Built to lead the push and die doing it. The Breaching Charge is powerful but wasteful—it will never be enough to finish the Core alone. The real question is: Can you survive long enough to reach the hull?
Interceptor (Skirmisher)
If anything survives the Sphere, it’s usually this one.
HP: 4 | Armor: −d2 | AGI +2 | PRE +2 | STR +0 | TOU +1
Weapons: Twin Railguns (d6 with advantage or d12)
Special: Collision check made with advantage (roll twice, take better result).
Tactical Role: Erase Swarms before they strip the squad. Avoid collisions better than anyone. You keep OCC from climbing too fast.
Notes: Your only reliable answer to Swarm Interceptors—and your best hope against the avalanche of debris. In space, AGI is armor. Every reroll is a postponement of OCC.
Hauler (Line Holder)
Not fast. Not pretty. Never optional.
HP: 6 | Armor: −d6 | AGI +0 | PRE +1 | STR +3 | TOU +2
Weapons: Heavy Coilgun (d10); Grapple Claw (d6 melee, can fling an enemy into adjacent zone)
Special: Stationary this round → +2 Defense. If grappled by a Fortress Drone → may counter-grapple (STR DR 14).
Tactical Role: Throw bodies between your squad and the Fortress Drones. Control zones by pushing threats backward. If you fall, enemy grapples turn into friendly soft-kills.
Notes: The Hauler is a contradiction: the toughest unit in the squad, deployed into the most dangerous debris field. Without it, Fortress Drones drag you backward and the mission collapses. With it, you get one more round.
Longwatch (Sensor Support)
The one that sees the things you wish it didn’t.
HP: 5 | Armor: −d4 | AGI +1 | PRE +3 | STR +1 | TOU +1
Weapons: Precision Laser (d8, Long Range); Sensor Array
Special: All allies get +1 to also hit your target this round. Roll PRE DR 12 to detect the Orbital Harrier one round early (appears Round 4 instead of 5).
Tactical Role: Paint targets, reveal threats, anchor cohesion. Your detection buys the squad one precious round. You rarely deal the killing blow—your job is prevention.
Notes: Your warning system, your accuracy booster, your last link to tactical coherence. If Longwatch dies in the first three rounds, the Harrier arrives blind and the Sphere becomes a slaughterhouse.
Enemy Forces
Swarm Interceptors (2 per wave)
HP 3 | Armor −d2 | AGI +2 | PRE +1 | STR +0 | TOU +0
Weapon: Micro-coilguns (d6, long range)
Special: On death, roll d4: 1–2 debris scatter (AGI DR 12), 3–4 flare detonation (OCC +1)
Fortress Drones (1 per wave)
HP 5 | Armor −d4 | AGI +0 | PRE +2 | STR +2 | TOU +1
Weapon: Plasma drill (d8, melee, doubles damage on crit)
Special: If they grapple a PC, that pilot loses one zone of progress.
Orbital Harrier
Ace-equivalent mini-boss; appears Round 5
HP 8 | Armor −d6 | AGI +2 | PRE +3 | STR +2 | TOU +2
Weapon: Beam Lance (d10), Shrapnel Burst (d6 to all PCs in Sphere, DR 12 to evade)
Special: Trajectory Slash—moves through two zones in one action, may attack in both.
Enemy Schedule
Round 1: 2 Swarm Interceptors in the Sphere
Round 2: +1 Fortress Drone
Round 3: +2 Swarm
Round 4: +1 Fortress
Round 5: Orbital Harrier arrives
Round 6: +2 Swarm
Round 7: +1 Fortress
Round 8: Last defense—1 Fortress, 1 Swarm
It is not expected that you kill all of them. It is expected you leave burning wreckage behind you.
OCC Behavior
+1 every round (fleet countdown)
+1 per failed roll (micro-corrections, sensor drift)
+1 when a PC uses Cohesion
+2 when a Fortress Drone dies (big heat signature)
+1 if a PC dies (search-pattern change)
–1 for each friendly unit the first time it enters the Assault Zone: The fleet’s targeting solution shifts from your vectors to the installation itself. (Each PC can reduce OCC this way once per mission.)
OCC cannot go below 0. The –1 from entering the Assault Zone applies only once per pilot, the first time they cross the line. At OCC 20, the kinetic strike hits the asteroid. There are no survivors. You have eight rounds. Maybe.
Mission Success
To succeed, the squad must enter the Assault Zone by Round 6 or 7, breach the Command Core (HP 6, −d8 Armor), and destroy it before OCC 20 and before losing the entire squad.
If the Core is destroyed:
- OCC freezes.
- Enemy units cease aggression.
- The fleet calls off the strike.
- You drift in silence among slow-falling slag, waiting for pickup.
- Stress checks for witnessing the shutdown of an entire installation whose operators died years ago.
If not destroyed in time: A spear of tungsten hits at relativistic velocity. Everything ends.
Tone Notes
- Deep space is quiet. No music.
- Every debris collision should be described as human-scaled — painted numbers, faded warnings, cracked visors, dented armor.
- The installation should feel abandoned, haunted by inertia.
- No triumphant chatter. No mission control. Only local comms, static-laced.
Optional Rule: Dude, Where’s Our Carrier?
At Round 3, the carrier takes a hit.At Round 5, the carrier sends a last burst of static.At Round 7, roll 14+ on 1d20 for the carrier: Success: A retrieval drone launches. Failure: No extraction vector remains. If you survive, you drift.
This rule is not recommended for first-time groups. It is recommended for groups who understand why Mecha Borg exists.